
How to Find ATM Replacement Parts for Any Model?

Finding the right ATM replacement part is less about locating a product and more about confirming compatibility. A card reader may look identical across two terminals, yet its firmware, connector, mounting bracket, or security configuration can differ. The wrong part can create repeated faults, longer downtime, and unnecessary service costs. Small details matter.

Industry data explains why this work remains important. RBR Data Services’ Global ATM Market and Forecasts reports a worldwide ATM estate exceeding three million machines, despite changing deployment patterns. ATMIA research also highlights the continuing role of ATMs in accessible, always-available banking. As ATMIA CEO Mike Lee has described the channel, “The ATM remains the most ubiquitous self-service channel in the world.” That scale creates a broad, varied replacement-parts market.

This guide explains how to identify Atm Replacement Parts for older, current, and less common models. It covers model numbers, part codes, revision labels, technical drawings, supplier verification, and return policies. It also considers practical evidence, such as connector shape, screw spacing, display size, and installation history. A photo alone is rarely enough.

The process is not perfect. Product listings can contain errors, and model names may vary by region. Even experienced technicians sometimes order the correct-looking part for the wrong revision. Careful comparison remains essential. Manufacturer documentation, qualified service providers, and traceable suppliers offer stronger protection than price alone. Readers should verify every specification before installation and follow the terminal manufacturer’s approved maintenance procedures.
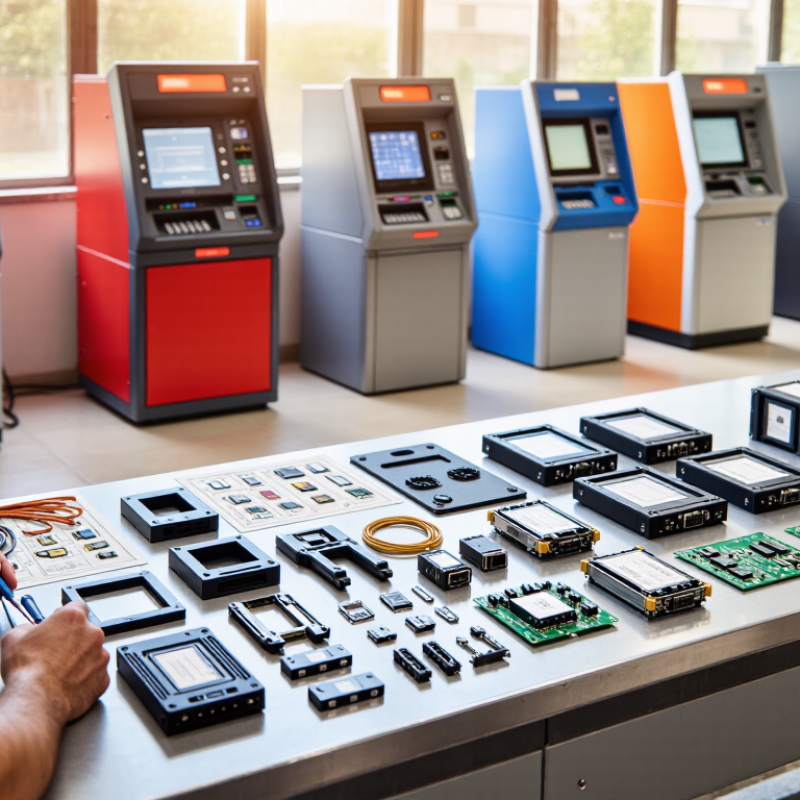
How to Find ATM Replacement Parts for Any Model?

Identify the ATM Model and Its Compatible Components

How to Find ATM Replacement Parts for Any Model?

Accurate model identification prevents expensive ordering mistakes. Start with the ATM’s data plate, usually inside the cabinet door or service panel. Record the model code, serial number, hardware revision, and manufacturing year. Photograph the connector layout and mounting holes. These details matter because two machines may share a cabinet but use different sensors, belts, or dispenser assemblies.

RBR Data Services has reported more than three million ATMs operating worldwide, creating a wide and aging parts market. The Federal Reserve’s 2023 Diary of Consumer Payment Choice found that cash represented about 16% of consumer payments in the United States. That ongoing demand makes dependable replacement planning essential. Match each component by function, dimensions, connector type, voltage, and firmware requirements. Check the cassette width, roller profile, sensor position, and cable length. Small differences can stop a machine.

Do not trust a similar-looking part. It may fit poorly. Service records and manufacturer manuals remain stronger evidence than marketplace photos. Experienced technicians often compare the removed part with a documented replacement before installation. Confirm revision numbers, especially for control boards, card readers, receipt printers, and PIN-entry hardware. Compatibility is not only physical. It also depends on firmware, communication protocols, and approved security requirements. I have seen an apparently correct roller fail because its compound differed slightly. That detail is easy to miss. When records are incomplete, pause, measure twice, and request a technical cross-reference from a qualified supplier.

Determine the Required Part and Its Technical Specifications

Finding ATM replacement parts starts with identifying the exact failed component. Record the cabinet model, module name, revision, and serial range. A receipt printer, cash dispenser belt, card reader, and keypad may share similar housings. They rarely share identical specifications. Photograph labels and connectors before removal. Record cable positions, mounting holes, and visible damage. Small details matter. Avoid ordering from appearance alone.

Check the service documentation for the approved part number and compatibility notes. Confirm operating voltage, current draw, connector type, pin arrangement, dimensions, and mounting direction. Use the technical datasheet whenever possible. For mechanical parts, note belt width, roller diameter, gear count, and material. For electronic modules, verify firmware requirements and communication protocols. Measure twice. A connector can fit while its pinout remains wrong. This mistake may damage related boards. Experienced technicians compare old and replacement parts side by side.

Before purchasing, ask the supplier for test records, revision details, and return conditions in writing. A reliable supplier should explain uncertainty, not hide it. I have occasionally trusted a product photo too quickly, causing unnecessary delays. That experience changed my process. I now verify every number, cable, and mounting point. If specifications conflict, pause installation and request clarification. The correct part must match the machine’s function, interface, and physical environment.

Locate Reliable Suppliers for ATM Replacement Parts

How to Find ATM Replacement Parts for Any Model?

Reliable suppliers matter more than a low listed price. RBR Data Services reports that the global ATM installed base remains above three million units. That scale creates wide demand for boards, dispensers, card readers, screens, locks, and receipt assemblies. However, availability does not guarantee compatibility. A supplier should request the exact model, hardware revision, serial range, connector type, and clear component photos. Small differences can stop a replacement from working.

Look for suppliers with traceable inventory and documented testing. Ask whether each part is new, refurbished, or remanufactured. Request test records, warranty terms, return procedures, and realistic lead times. A reliable warehouse can identify a part by revision code, not only by appearance. It should also explain firmware or calibration requirements before shipment. The Nilson Report has repeatedly highlighted the importance of ATM uptime in payment infrastructure, so response speed deserves serious attention.

Check technical support before placing a large order. A short video call can reveal whether the supplier understands error codes, belt alignment, sensor cleaning, and safe installation. Compare total cost, including freight, testing, downtime, and possible returns. The cheapest part may become expensive. I have seen compatibility assumptions create unnecessary delays; that mistake is easy to repeat. No supplier is perfect, but transparent records and precise communication reduce risk. Keep one sample component for future comparison. That simple habit helps.

How to Find ATM Replacement Parts for Any Model?

Use the expected replacement interval as a practical starting point when identifying compatible ATM parts. Always confirm the exact model, part number, connector type, firmware compatibility, and installation requirements with a reliable supplier.

The figures show typical planning intervals in years. Actual service life depends on transaction volume, environment, maintenance quality, and component condition.

Verify Part Compatibility, Quality, and Regulatory Requirements

How to Find ATM Replacement Parts for Any Model?

Verify Part Compatibility, Quality, and Regulatory Requirements

Finding a replacement part begins with accurate machine identification. Record the model, serial number, hardware revision, and installation location. Two units with similar cabinets may use different doors, locks, displays, or control boards. I have seen a visually matching keypad fail because its connector layout differed by one pin. Check service manuals, parts diagrams, and the supplier’s compatibility data before ordering.

Quality needs more than a clean photograph. Inspect housing materials, cable insulation, mounting points, and connector condition. Ask for test records, production dates, warranty terms, and traceable sourcing. Used parts can be practical, but hidden corrosion or repaired solder joints may shorten service life. I once accepted a low-cost board without checking its storage history. It worked briefly, then produced intermittent errors. That mistake changed my inspection routine.

Regulatory requirements also vary by region and part type. Electrical assemblies may need safety documentation, while payment-related components can require security controls and approved handling procedures. Confirm applicable certification, electromagnetic compatibility, recycling obligations, and installation rules with a qualified technician or local authority. Keep invoices, serial records, test results, and replacement dates in one service file. Small details matter. A supplier’s confident wording is not proof of compliance.

Order, Install, and Test the Replacement Component

How to Find ATM Replacement Parts for Any Model?

Finding the correct ATM replacement part begins with accurate identification. Record the machine model, serial number, component label, and software version. A small mismatch can stop a dispenser, card reader, or receipt printer from working. I have seen technicians order by appearance alone. That approach often fails. Compare connector shapes, mounting holes, voltage ratings, and revision numbers. Use the service manual and supplier documentation together. Reliable suppliers should provide clear specifications, return terms, and compatibility guidance.

Order only after checking the complete part number. Ask for photos when the listing seems unclear. Keep the invoice and packaging until testing is complete. During installation, disconnect power and follow the manufacturer’s service procedure. Use antistatic protection and a clean work surface. Never force a connector. It should fit smoothly. Photograph cable positions before removal. This simple step saves time, although I sometimes forget it when repairs feel urgent. That is a mistake worth correcting.

Tips: Install one component at a time. Check screws and cable routing. Restore power only after inspecting the compartment. Test the replacement through the machine’s diagnostic menu, then perform a controlled transaction simulation. Check alignment, response time, error messages, and receipt quality. Record the test results and part revision. If the component works intermittently, stop and investigate. Repeated resets can hide a connection problem. A second inspection may reveal what the first missed.

How to Find ATM Replacement Parts for Any Model? — Order, Install, and Test the Replacement Component

Stage What to Identify How to Check Before Ordering or Installation Completion Check
1. Identify the ATM Model, serial number, hardware revision, and configuration Read the equipment data plate and consult the unit’s service documentation. Record the installed module’s part number when accessible. Match the replacement to the exact model and revision; appearance alone does not confirm compatibility. The machine and installed configuration are recorded accurately.
2. Identify the component Component type, position, connector type, and symptoms Use diagnostic codes, service logs, visual inspection, and the applicable troubleshooting procedure to narrow down the fault. Check whether the issue could instead be caused by a cable, power connection, configuration, or another related component. The suspected failed component is supported by diagnostic evidence.
3. Confirm compatibility Part number, revision, dimensions, electrical ratings, and interface Compare the candidate part’s specifications with the service manual and the original part label. Confirm required firmware, configuration, accessories, or calibration steps. Ask the parts provider to verify fitment if details are uncertain. The replacement meets the documented requirements for the specific unit.
4. Order the part Exact part identification, quantity, condition, and return terms Provide the ATM model and serial number, original part number, and a clear description of the fault when requesting a quote. Confirm whether the part is new, refurbished, or used; check warranty coverage, return eligibility, and included items. The delivered part number and condition match the order and compatibility confirmation.
5. Prepare for installation Service instructions, tools, work area, and security requirements Follow the manufacturer’s service procedure and site rules. Arrange work by a qualified technician authorized to service the equipment. Take the ATM out of service as required, secure the work area, and isolate power before servicing whenever the procedure requires it. Protect sensitive data and components. The unit is in a safe service state and the correct procedure is available.
6. Install the component Mounting points, connectors, cable routing, and fasteners Remove and fit the component according to the service manual. Avoid forcing connectors or changing cable routing. Check connector orientation and seating, secure fasteners as specified, and inspect for loose cables or trapped wiring. The component is firmly seated and connections are secure.
7. Configure and test Diagnostics, calibration, firmware, and functional checks Restore power as directed, run the prescribed diagnostics, and complete any required calibration or configuration steps. Test the affected function and related interfaces using the approved service procedure; do not return the ATM to service if an error remains. Diagnostics pass, the original fault is cleared, and required functions operate normally.
8. Document the repair Replacement part number, date, test results, and technician notes Update the maintenance record with the fault, work performed, test results, and any follow-up action. Follow site procedures for handling the removed component and securing the ATM before returning it to service. The repair is traceable and the equipment is released according to site procedures.

Important: Part compatibility and service procedures vary by ATM model and configuration. Use the applicable service documentation and authorized service process; this table is a general planning guide.

SERVO-ROBOT Inc
Privacy Overview

This website uses cookies so that we can provide you with the best user experience possible. Cookie information is stored in your browser and performs functions such as recognising you when you return to our website and helping our team to understand which sections of the website you find most interesting and useful.